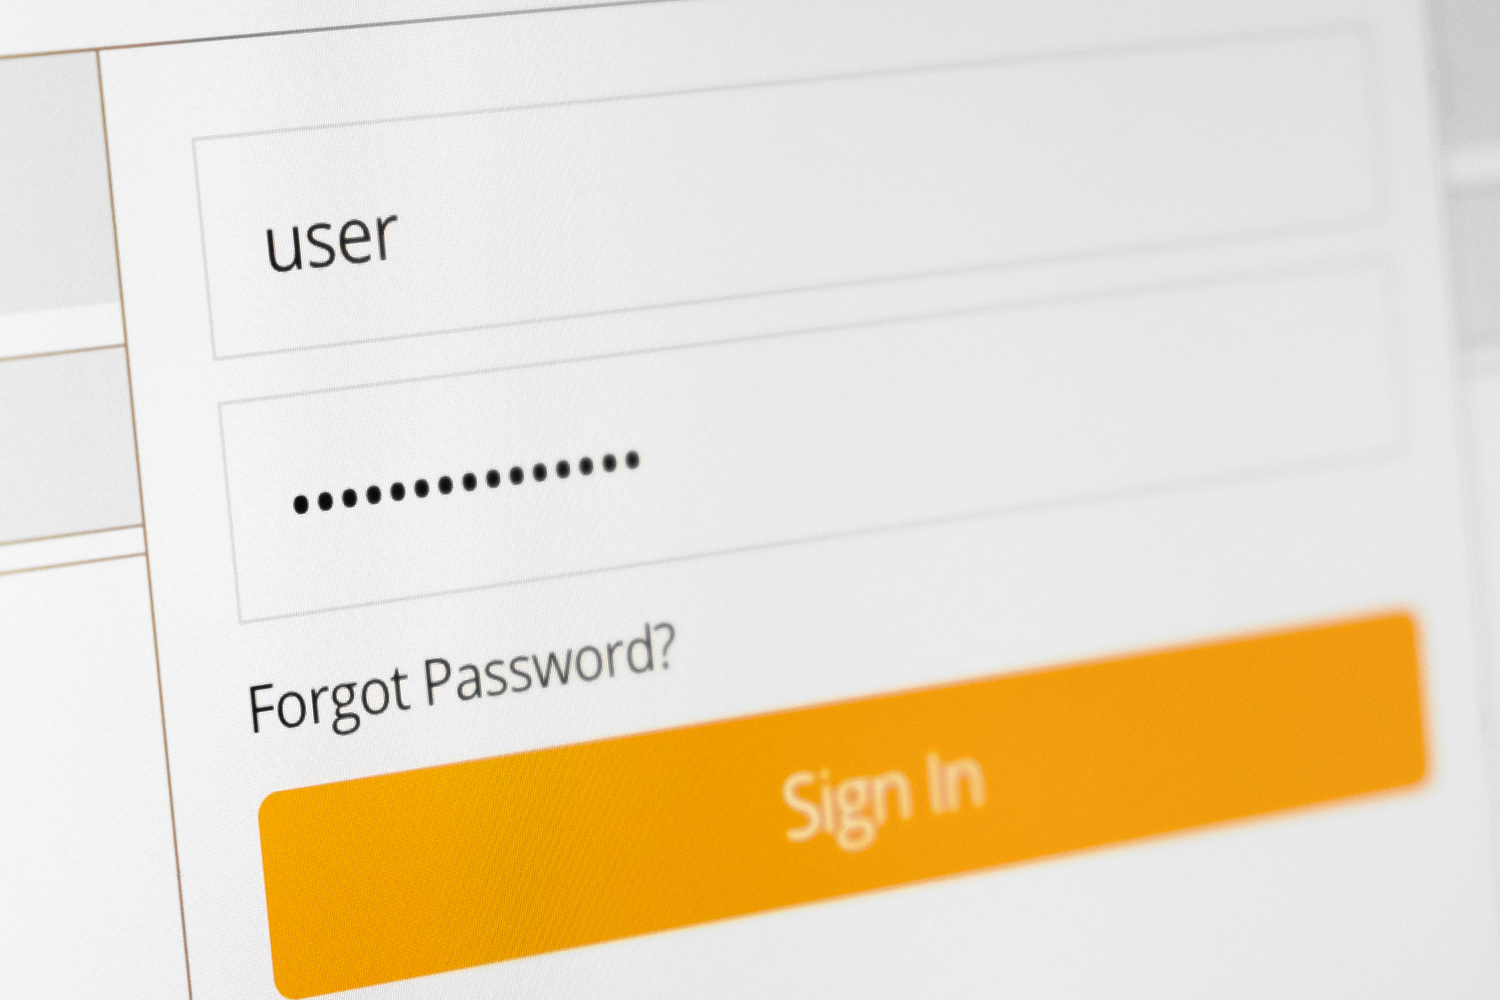
How many of you out there have a habit of reusing the same password for an extensive amount of time? Yea, me too. Have you also used that password across multiple platforms? If you have, now is the time stop. Otherwise you will continue to leave your information susceptible to hackers.
Luckily, Windows 10 has made it easier for you to remember to change your password by enabling you to set a password expiration date. You can do this with either your Microsoft account or a local account to sign into your PC.
Set a Password Expiration Date for Microsoft Account
To set up your password expiration date for your Microsoft account, go to the Microsoft account security area, sign in, and under “Change Password” click “Change.”
You will be prompted to provide your current password and then a new one. Please note that you cannot reuse your existing password.
To make sure your password expiration is sent, check the box next to “Make me Change my Password Every 72 Days.”
After every 72 days, you will be prompted to change your password after you sign into your account.
Set a Password Expiration Date for Local Account
If you use a local account to sign into your pc as opposed to a Microsoft account, no worries, you can still set up password expiration.
Starting out, press Windows + R to open the “Run” launch box. Then, type in “netplwiz” and click okay to open your account settings.
Once your user account settings opens up, navigate to the “Advanced” tab and then click on “Advanced” under the “Advanced User Management” section.
Click on “Users” in the left column and then right click on your user account and choose “Properties.” This accesses advanced user settings for your specific account.
Within the “Properties” menu, uncheck the option that says “Password Never Expires” and click “Ok” to save changes.
Alright so now that you have disabled the password never expires option in your account, you are able to set the maximum password age.
If your machine runs Windows 10 Pro, Education, or Enterprise, press Windows + R to open up the “Run” launch box. Then type in “gpedit.msc” and click “ok” to open the Local Group Policy Editor.
In the left-hand menu, navigate to “Computer Configuration > Windows Settings > Security Settings > Account Policies > Password Policy.” On the right side, you should see “Maximum Password Age,” double click it.
Now you can change the password age to whatever length you want it to be, then click “Ok” to save.
If your computer is running Windows 10 Home, you are going to need to use PowerShell or your command prompt to set your password age.
Right click on the Start menu and then click on “Windows PowerShell (Admin)” or “Command Prompt (Admin).” That will depend of what version of Windows you have.
In the PowerShell/Command Prompt window, type in “net accounts” and hit Enter to find out the existing maximum password age. To change the age from the default 42 days, type in “net accounts / maxpwage:##” and replace the ## with whatever number in days you want to use and then hit Enter to save.
Keeping your information safe is the most important thing to do when it comes to using technology. After all, we don’t want people to be able to hack into your accounts and access all that data. Do yourself a favor and use different passwords as well as change them periodically to avoid this.


